Xilisoft HD Video Converter Tutorial
How to convert HD (High-definition) video files, convert among HD videos or convert HD videos to SD video, using Xilisoft HD video converter? The following will show you a step by step guide to complete the conversion task. First, Download, install and run Xilisoft HD Video Converter.
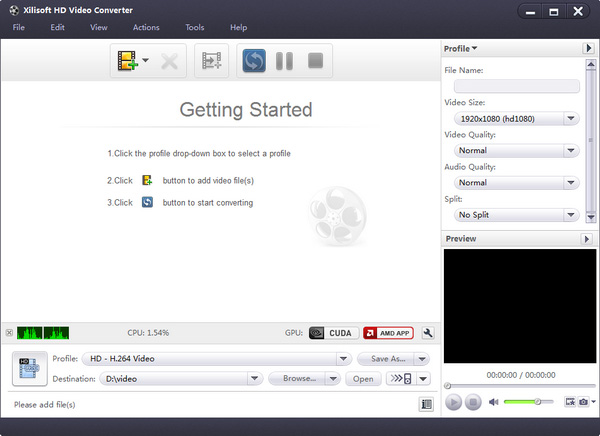
Step 1: Load files
Click "Add File(s)" drop-down button on the toolbar, and click "Add File(s)..." option from the drop-down list, then choose video, audio or picture files you want in the dialog that opens. The loaded files will be displayed in the file list. Xilisoft HD Video Converter supports the most popular HD video formats and general video formats including AVCHD (mts, m2ts), MKV, HD ASF, HD AVI, H.264/AVC, HD Quick Time, HD MPEG-4, HD WMV, AVI, MPEG, WMV, MP4, 3GP, FLV, RM, MOV and so on. Video conversion between these formats are well supported.

Or click "Add Folder..." option from the "Add File(s)" drop-down list, and choose a folder you want, then load all the files in this folder into the file list.
Tip: You can also add files into the file list by clicking "File > Add File(s)..." or "Add Folder..." option in the main menu and choosing the files or folder you want in the dialog that opens.
Step 2: Select profile
Choose one or more files in the file list, and click to open "Profile" drop-down list, then choose the profile you want from the classified profile list.

Tips:
(1) If you're not satisfied with the default profile parameter settings, you can adjust them in the right profile settings panel. Click the drop-down button on the panel, and choose "Basic Settings", "Video Codec", "Audio Codec", "Picture Codec", "Metadata" option to enter corresponding panel for parameter adjustment.
(2) You can search for the profile you want quickly by entering the profile keyword in the Keyword textbox of the profile list.
Step 3: Choose destination
Click "Browse..." drop-down button in the settings panel, choose "Browse..." option, then choose the destination folder for saving output files in the dialog that opens, and click "OK" button to return to the main window.

Step 4: Start Converting
After the above settings, check the files that needed to convert in the file list, and click "Convert Checked Item(s)" button on the toolbar to start converting. You can check the progress from the progress bar at the bottom of the main window.
Tip: you can click "Pause Checked Item(s)" or "Stop Checked Item(s)" button to suspend or stop the conversion according to your own need anytime during conversion.

Ok, the above is the easiest function for your conversion. We provide you more abundant skills below!
More Applied Functions
1. Add Multiple Profiles for One Source File

2. Customize Output File Size

3. Clone File


